Simple Circle Quilt, Part Two

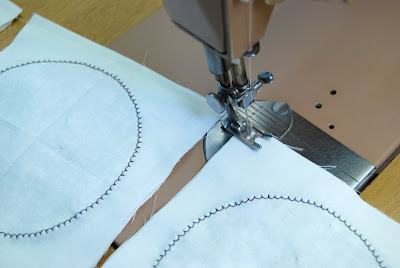
Welcome back for Part Two of the Simple Circle Quilt Tutorial! Once I have the circles zig- zagged, I pull the threads to the back and tie. (Or backstitch...pulling the threads to the back is just a bit neater looking.)
 I chain piece the blocks... Again, the numbers really help since I pick up the pairs in vertical rows.

 I like to then sew them together into four-patch blocks, but I know some of you prefer to do rows instead. Whatever you like..

 I chain piece the blocks... Again, the numbers really help since I pick up the pairs in vertical rows.
 I like to then sew them together into four-patch blocks, but I know some of you prefer to do rows instead. Whatever you like..
Because my design is an uneven number of rows, the last row is added after all the rest of the blocks are sewn together...

Next, I add my skinny border. For the Pink/Orange Quilt, I used scraps of my greens and pieced a strip 1 1/4 inches wide. For the Blue/Brown one, I decided it needed the POP of some orange, so I decided to use one fabric instead. Measure your circles unit to determine how long to make your border strips. Sew to opposite ends. Then sew the skinny border to the remaining two sides.


Next, I add my skinny border. For the Pink/Orange Quilt, I used scraps of my greens and pieced a strip 1 1/4 inches wide. For the Blue/Brown one, I decided it needed the POP of some orange, so I decided to use one fabric instead. Measure your circles unit to determine how long to make your border strips. Sew to opposite ends. Then sew the skinny border to the remaining two sides.

Remember those 3-inch wide strips of your print fabrics you set aside at the beginning? Now's the time to grab those and stitch them together into two 6-strip units.

Cut those into 6-inch wide blocks. Sew them together end to end, alternating the order between the two units to create a semi-random arrangement.

Sew the piano key border to two opposite ends of the circles unit, then the remaining two sides.(The measurement will not align perfectly- so the end of your piano keys may have a block that is not as wide as the others. I don't mind this. Hope you don't either.... I think it adds to the scrappy-quilt quality....) You can also use some of your leftovers from cutting out the circles if you want to mix it up more or emphasize a particular fabric.


Speaking of scrappy, my piano keys on the Pink/Orange quilt were not 6 inches- they measure 3 1/2 finished. I was using the leftover blocks from the Q-Along, so I actually STARTED with the dimensions of the piano keys, and built the quilt backwards to fit! So there are lots of ways to think about your quilt plan, based on what you have and what you need!

Here's the Blue/Brown top to add to my always growing stack of tops in need of quilting!


Nenhum comentário:
Postar um comentário